How Can We Help?
ReachUC Connector
The ReachUC Connector is a Computer Telephony Integration (CTI) tool. It is a 3rd party application that ties the PBX to various CRM and Contact Management systems.
There are two license versions for the ReachUC Connector: Express and CRM. A ReachUC Connector license is activated by assigning an Entitlement to a PBX User (Instructions on how to assign entitlements are found below).
ReachUC Connector is a native app that runs on Microsoft Windows 7/8/10. The CRM version is integrated with 120+ different CRM systems while the Express version works ONLY with Google Contacts, Microsoft Outlook, and Lotus Notes.
This tool is only available for Windows 7/8/10. There are no plans to create a Mac or Linux version.
This tool will only do screen pops if a call passes through the ‘User’ that is logged in. If another user or queue rings the user’s device, there will be no screen pop. Example: If user 100 is logged into the application, the call from queue 200 to phone extension 100 will not create a screen pop. All calls that pass through User 100, will get a screen pop.
This tool will not function as expected when multiple devices are used in a SIM Ring. We expect this to be fixed in a later release.
ReachUC Connector Features
View the following features link for a set of product features available for ‘CRM’ and ‘Express’ user features: http://connector.reachuc.com/page/10/212/uk
ReachUC Connector CRM Compatibility
To search for a CRM that is compatible with the ReachUC Connector you may go to http://integrations.connector.reachuc.com/windows?language=en
Note: CRM Integration is only available with the CRM license version.
Installing ReachUC Connector
- Download the ReachUC Connector installer at http://connector.reachuc.com/downloads/software/uk.
- Install ReachUC Connector by following the instructions from the installer dialog screens.
- Navigate to and right-click on the Taskbar Tray icon.
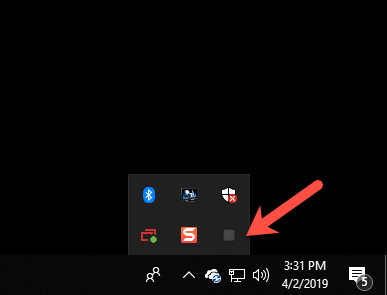
Note The icon will be black/grey ![]() when it is unregistered or PBX credentials have not been entered and saved (Instructions to do this are found below). It will change to green
when it is unregistered or PBX credentials have not been entered and saved (Instructions to do this are found below). It will change to green ![]() when already registered and not on a call but will change to red/orange
when already registered and not on a call but will change to red/orange ![]() when on a call.
when on a call.
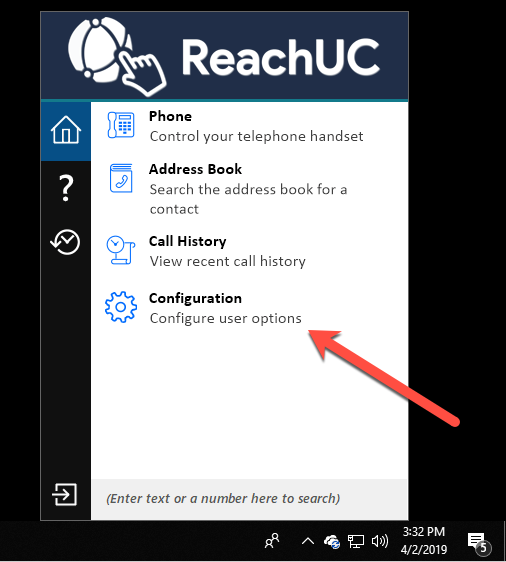
Connector Settings
To adjust the settings for ReachUC Connector right-click on the Taskbar Tray icon and select Configuration.
Telephony Tab
Here you will enter your PBX User credentials then click Save to register it to your user.

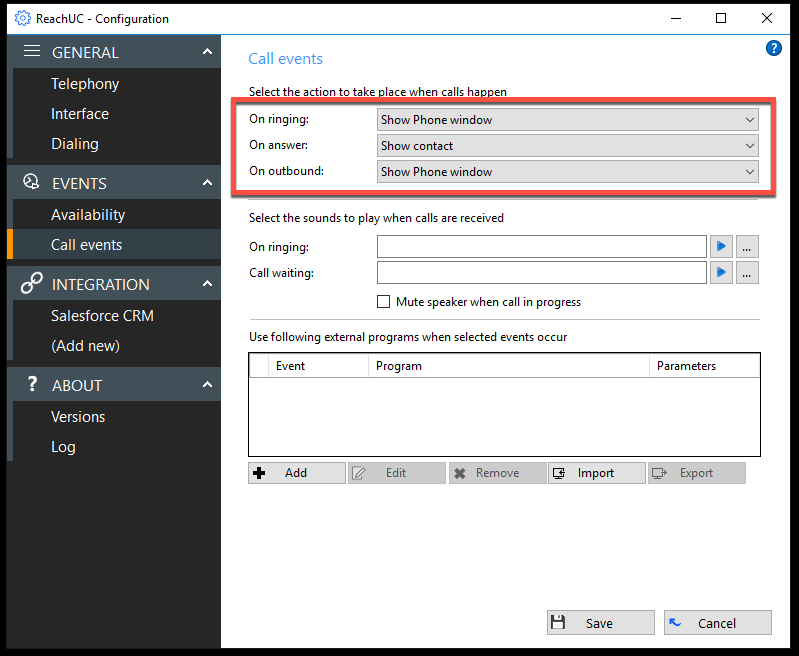
Call Events Tab
The Call Events tab is where you set up the type of pop-up to appear for particular events.
Integrations > (Add new)
This is where you will select your integration. There is a requirement that you have API Access in your CRM.


Once you select your integration type, click the ‘Set’ button.

After clicking “Set” you will be taken to the CRM Setup page. Detailed instructions for setting up the particular CRM can be found by clicking on the Help Icon in the upper right-hand corner.


Test the CRM Integration
Once you have your CRM Credentials set up, you can test the integration by typing a telephone number and clicking Search. The result will show the API request result from your CRM.

At this point you should have working screen pops for inbound and outbound calling. The pop-ups shown are configured in the earlier step of configuring Call Events.

Here you can click on the CRM Contact before answering the call or deflect the call. After answering the phone you have the ability to Hang up, Consult (place a new call), and Transfer within the screen pop. You can still click on your CRM’s icon to open to the customer’s page. ‘Show contact’ stores a contact locally in the application.
