How Can We Help?
PBX Sites
PBX Sites Overview
PBX Sites is a feature within the Manager Portal that allows Office Manager roles to organize users together in a group referred to as a ‘Site.’ Included with Sites is a new user role called ‘Site Manager’ which has similar authority to an Office Manager, however, a Site Manager will only be able to manage users that are placed within their site by a Office Manager role.
PBX Sites allow Office Managers to do the following:
- Select the default settings to be applied for all users within a Site.
- Select Music on Hold for all users within a Site.
- Assign a user the role of ‘Site Manager’
- This ability is only available for NGT Support to assign.
- The Site Manager role can only manage and change settings for users within their assigned Site(s).
Please note, at this time, we are unable to apply Site-wide default settings for timeframes and phone numbers.
How to Create Sites
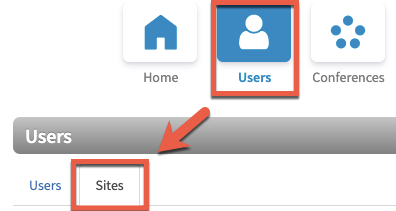
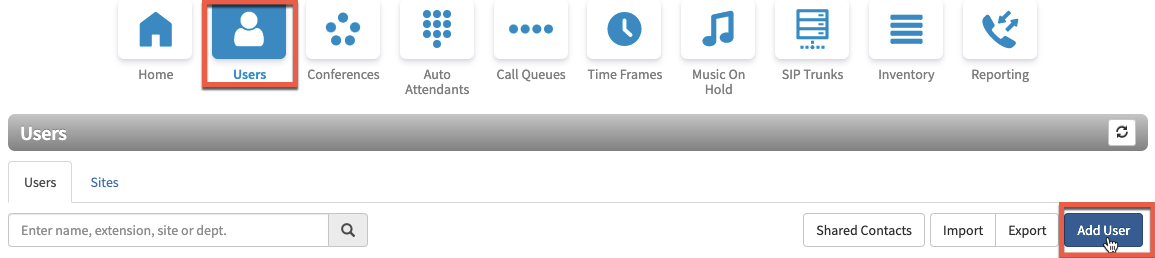
The Sites feature is accessible through your PBX Manager Portal in the ‘Users’ tab. Before you can add users to a Site, you will need to first create a Site by selecting the ‘Sites’ tab.
Once a Site has been created, it will be listed in the ‘Sites’ tab including the Site Name, Timezone, Area Code, Number of Users, Number of Queues, and Registered devices for each existing Site, as seen in the image below. Please also note several of these items can be clicked to view more information, such as seeing all users in a Site or all queues in a Site.
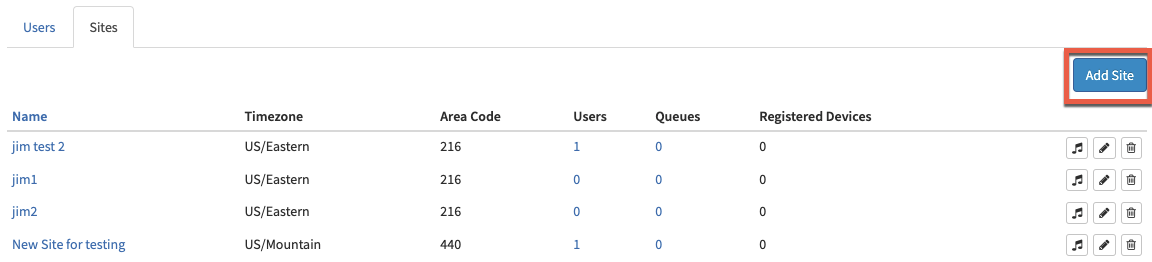
To create a new Site, simply click the ‘Add Site’ button on the ‘Sites’ tab and input the default information you would like applied to users added to this Site.
When creating or editing a Site, the following User Default settings can be configured:
- Site Name (This cannot be changed)
- Language
- Timezone
- Area Code
- Caller ID Name
- Caller ID
- 911 Caller ID
- Dial Translation (Your domain)
- Dial Permission
Once you have entered the Site name and default settings, click ‘Add Site’ located at the bottom of the page.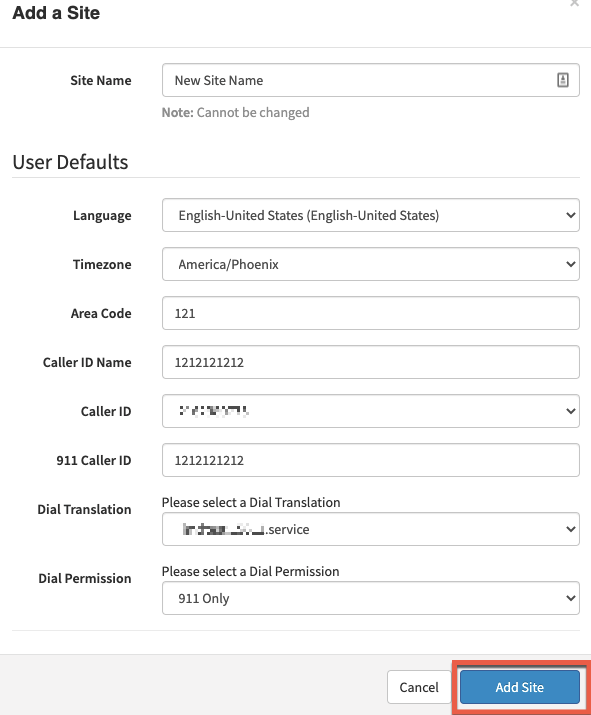
Note: If certain defaults are not entered (left blank), the domain’s default settings will be applied to Site users. For example, if a Site’s Music on Hold settings are not changed, the Site users will use the domain’s default MOH settings.
After a Site is created, you can manage all existing Sites by utilizing the buttons found to the right of every listed Site in the ‘Site’ tab. These buttons allow you to change Music on Hold Settings, change all Site default settings, and delete a Site, as seen below.

How to Add Entities to a Site
Once a Site has been created, entities such as Users and Auto Attendants can be added by modifying the user settings directly. In the step below, we will walk through how to add users to a Site.
Note: The two methods mentioned below can also be applied to Auto Attendants, Conferences, and Call Queues. For example, you can add an existing Auto Attendant or create a new Auto Attendant, and in both scenarios, there is a ‘Site’ field that can be edited at any time.
To add an existing user to a Site:
- Locate the user in the ‘Users’ tab, select the ‘Edit’ button to the right of that user and select ‘Profile.’
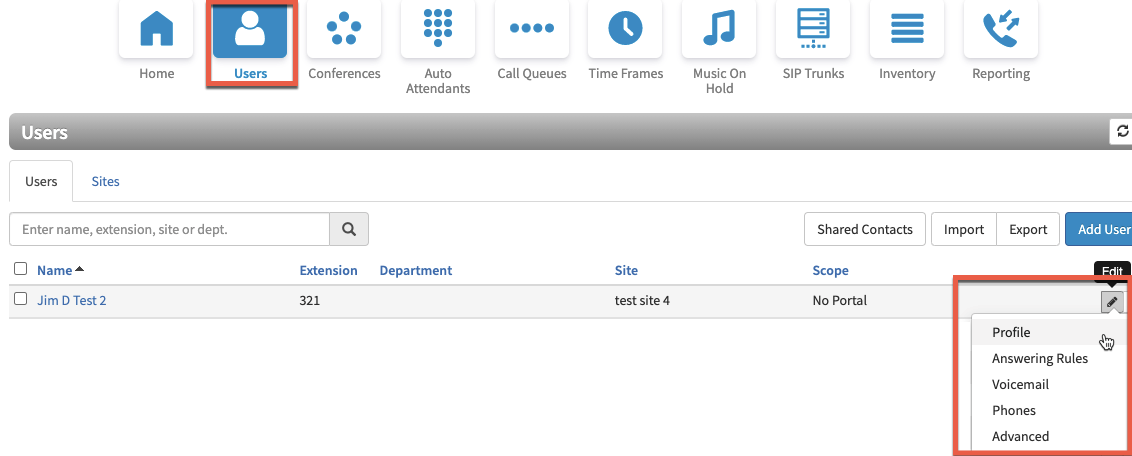
- From the user’s profile menu, locate the ‘Site’ field and type or select the name of the Site you wish to assign this user. Once completed, click the ‘Save’ button.

To create a new user and add to a Site:
- Begin as you would normally when creating a user by navigating to the ‘Users’ tab and selecting ‘Add User.’
- Input basic information for the user, and select the Site you wish to assign this new user. Once the user information is complete, click ‘Add User’ at the bottom of the page.

New Users Functionality Suggestion: As the Sites feature allows you to apply default settings to users within a Site, you take advantage of this function by applying preset default settings to any newly created user to use specific default settings without the need to input them individually each time a user is created.
How to add a Site Manager
Site Manager is a scope that can only be added by NGT Support. Site Managers must also be included in a Site before being changed to a Site Manager.
To add a Site Manager:
- From the ‘Users’ menu under ‘Sites’ Tab, locate the Site you wish to manage and then select the number under ‘Users’ to view all users in the Site.

- When you arrive at the Site users page, you can verify the scope of each user under the ‘Scope’ section. To change the scope for a user that is not already a Site Manager, click the ‘Edit’ icon to the right of the user you wish to change and then select ‘Profile’.

- From the user profile screen, change the scope of the user to Site Manager and click ‘Save.’
